You can have control over your python deep learning setup for Kubernetes through the Visual Studio code editor and inside Visual Studio, you can launch the remote bash shell. Below we have mentioned all the steps required to connect to the remote shell through the Visual Studio editor.
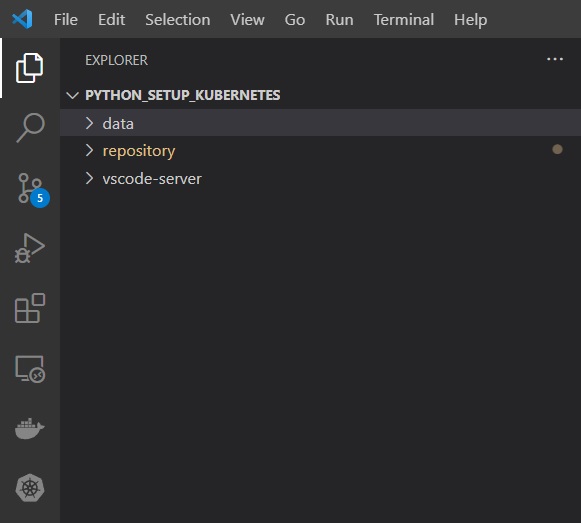
Launch the Visual Studio code editor with your extracted folder setup.
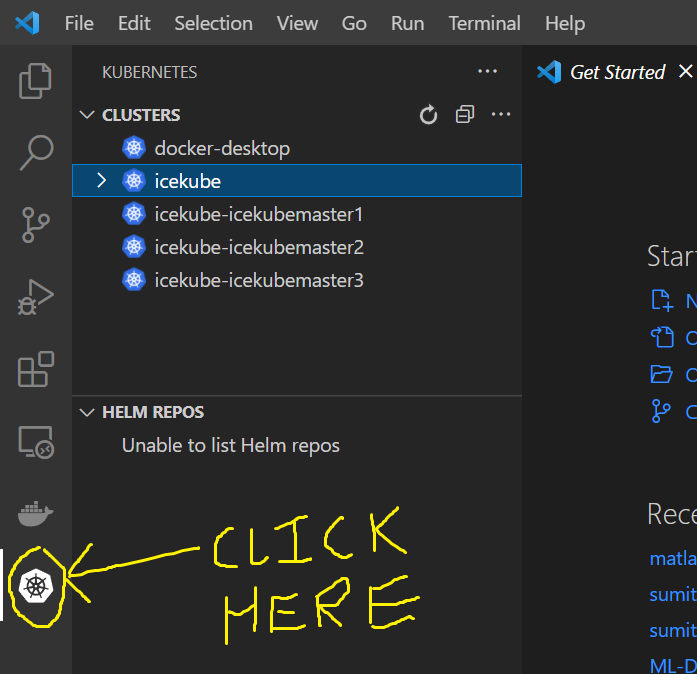
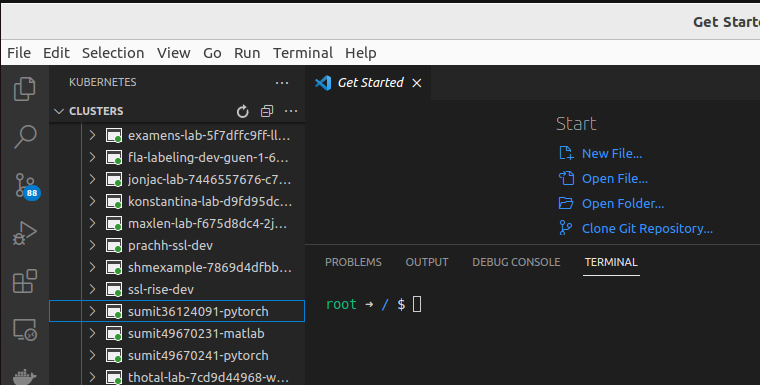
Just view the left pane and click on the Kubernetes icon, you can view the existing contexts. Simply switch to icekube context.
Navigate to Pod Section: Within icekube context ->Workloads->Pod
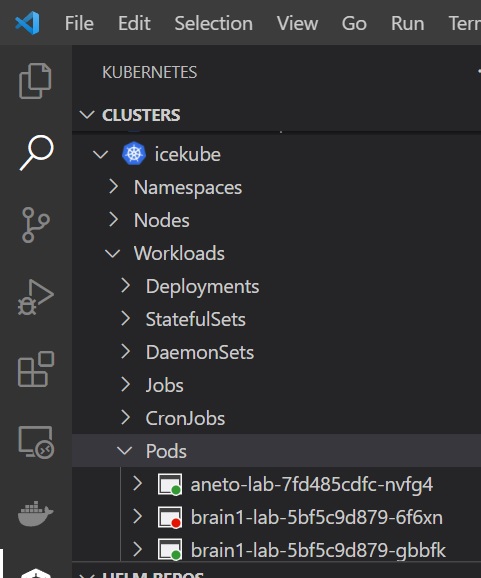
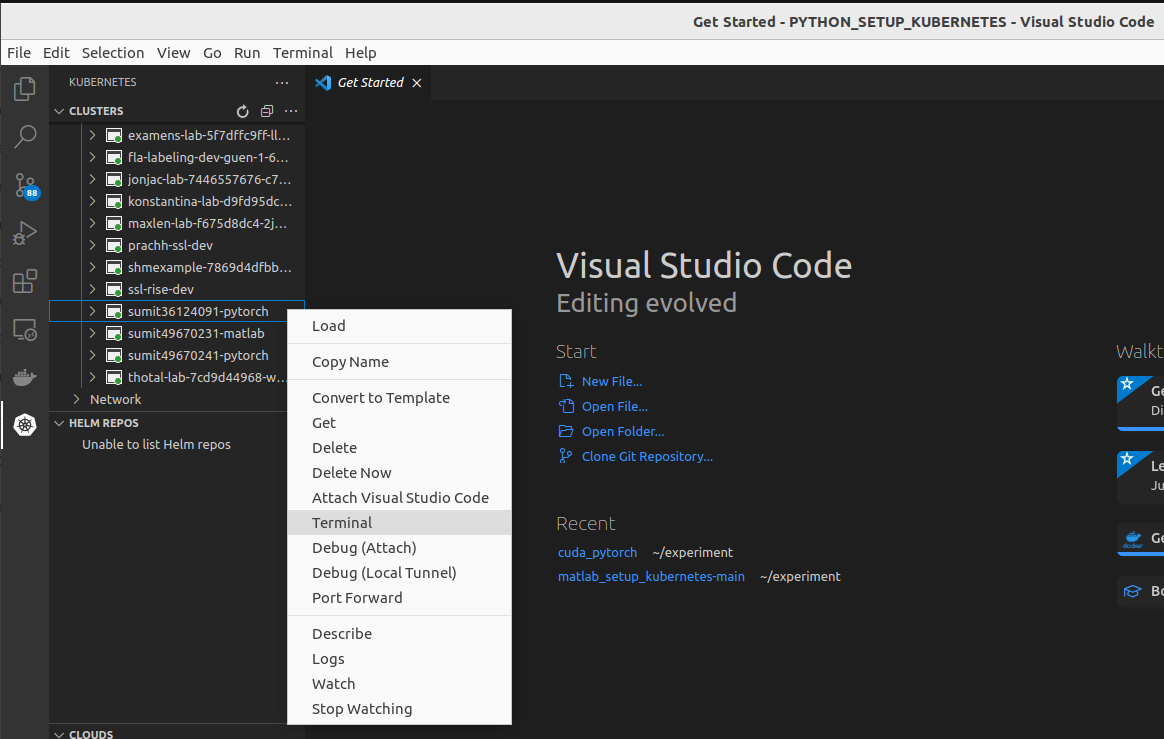
Here, find your pod name. In this example, our pod name refers to. Select your pod and right click on it, and select Terminal. Now, the terminal will launch.
Now, you are ready to work with Python Pytorch Deep learning setup. One thing is to remember, to save all your data in /home/vscode directory. For your convenience, /home/vscode/workspace and /home/vscode/workspace/data folders are already created for you default. If you need to create any folder, just create it in /home/vscode.
Note
In this section, we learned how to connect to your pod and launch a bash shell terminal using Visual Studio Code. We can also uninstall our pod from here but it is not advisable, as current settings enable your to accidentally delete or uninstall other useful resources. We will learn how to uninstall helm chart and other resources using bash shell in coming posts.