In this article, we will release all the resources allocated to our Kubernetes container pod: not only GPU, CPU, and memory resources but we also free the PVC storage as well. So, make sure you copy all your data to the local drive before releasing PVC storage as well.
We have already learned how to release GPU, CPU, and memory resources by uninstalling the existing helm chart. For your convenience, we will repeat the steps again.
Table of Contents
Steps
Uninstall the helm chart
Always remember to switch to the kubernetes icekube context
kubectl config set-context icekube --namespace=ltu-default
                   OR
kubectl config use-context icekube
kubectl config set-context --current --namespace=ltu-default
List all the helm chart
To list all the helm chart current installed on the system just simply type the below command.
helm list
It will simply list all the helm charts installed on the system.
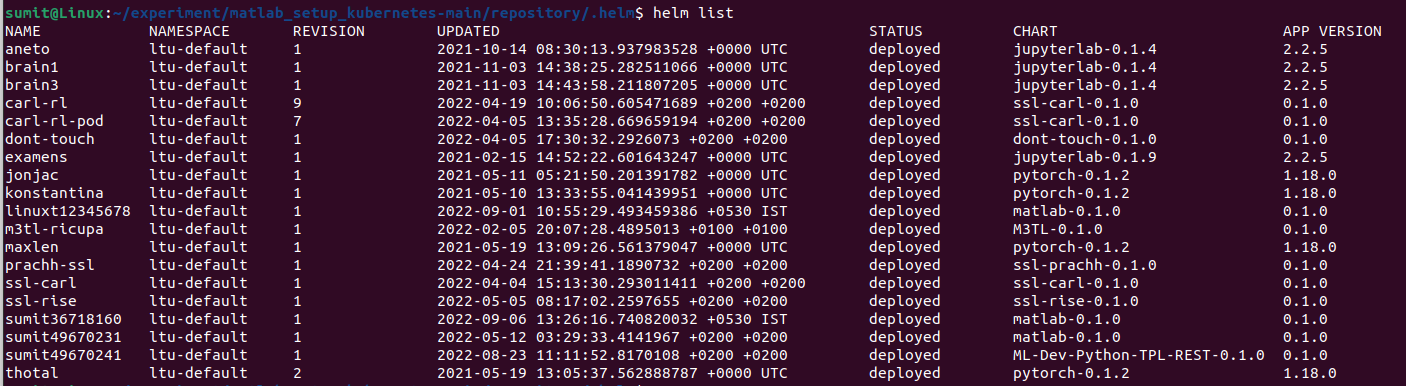
you can see from the above output, it is the name for which we used the first name with unique 8 integer digit.
Uninstall the helm chart
Simply use this name to uninstall the helm chart.
helm uninstall sumit36718160
Once you issue the helm uninstall the command with the chart name. It will simply release all the resources except PVC, the storage. Thus, your data remains safe.
Deleting the PVC storage
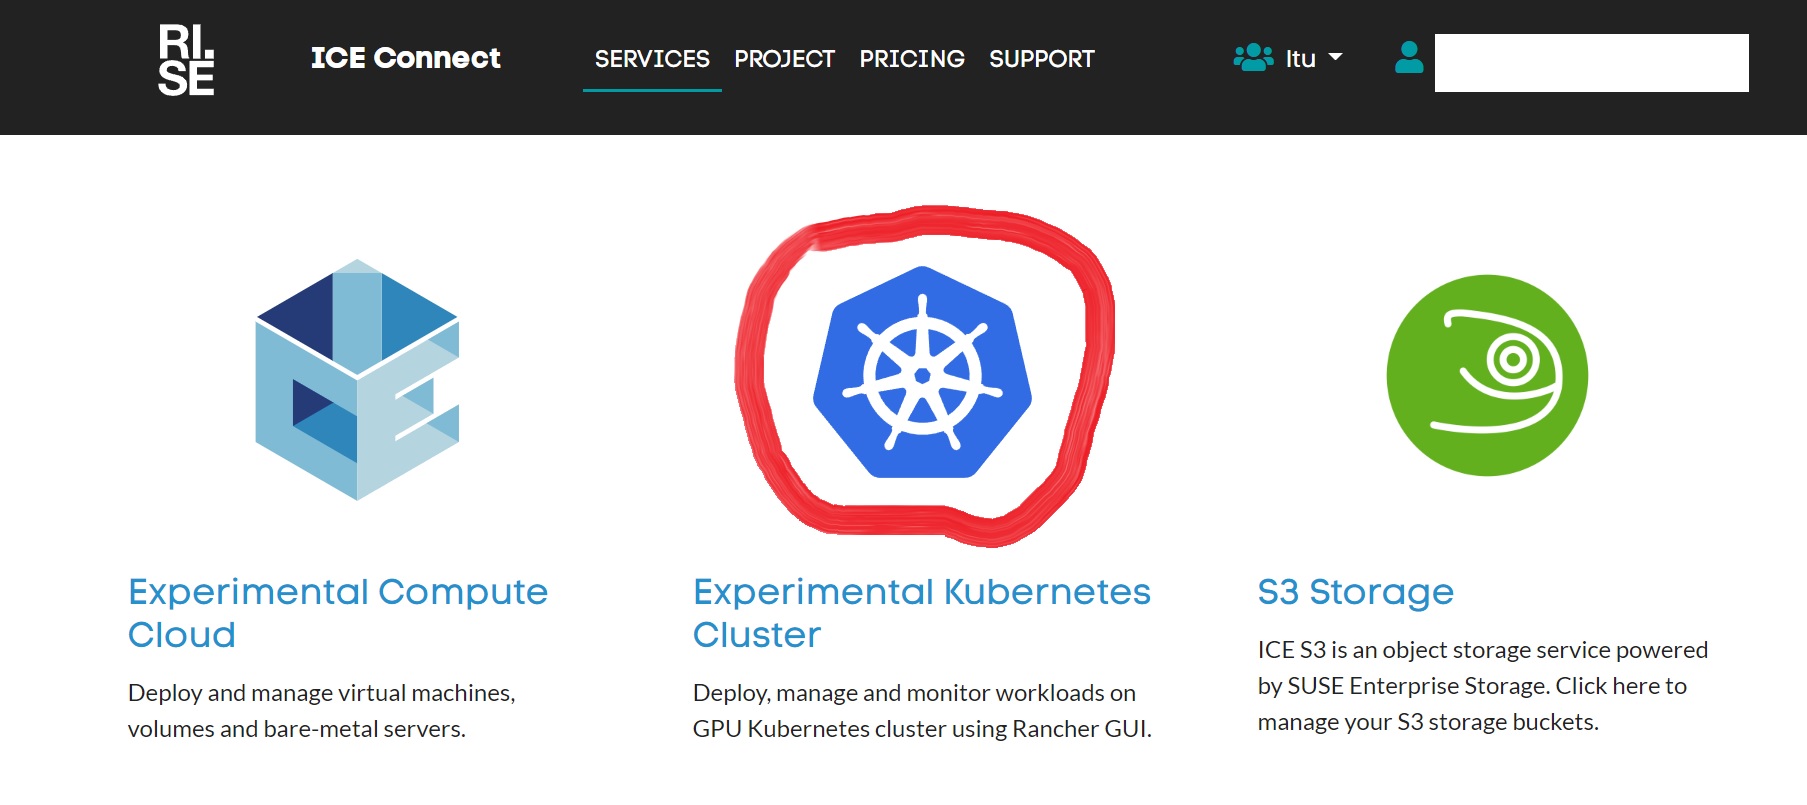
To delete the PVC storage you have to login to the ice.ri.se web portal, on the front page click on the Experimental Kubernetes cluster as shown below.
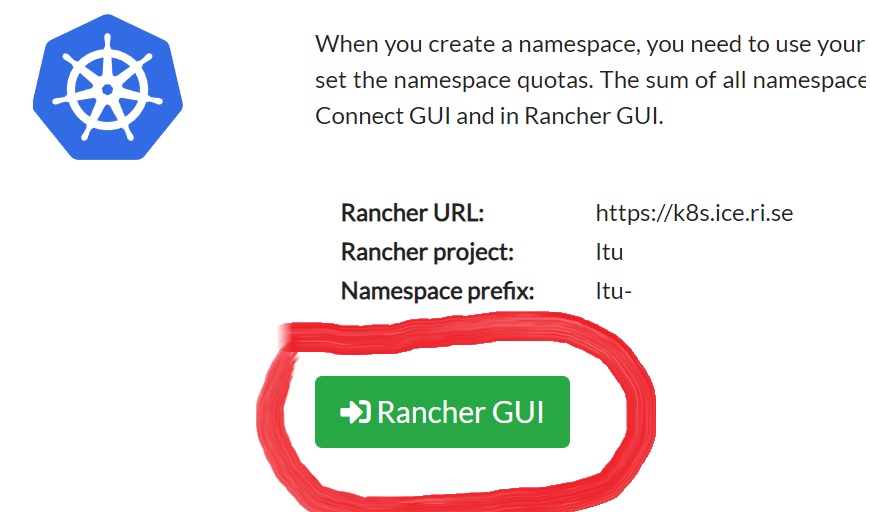
Then click on Rancher GUI
Then click on “Login with Keycloak”

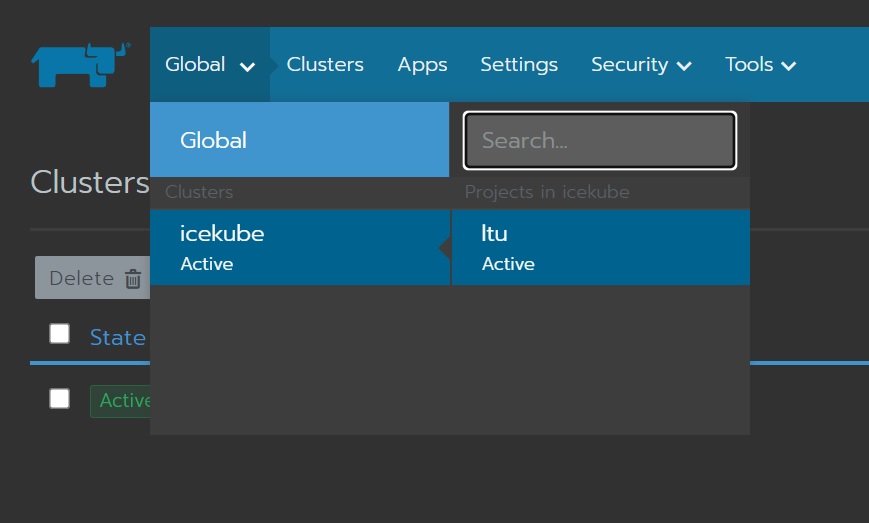
From the below screenshot choose Global->icekube->ltu
Now clock on the “Volumes” tab and search for your volume name in the search bar.
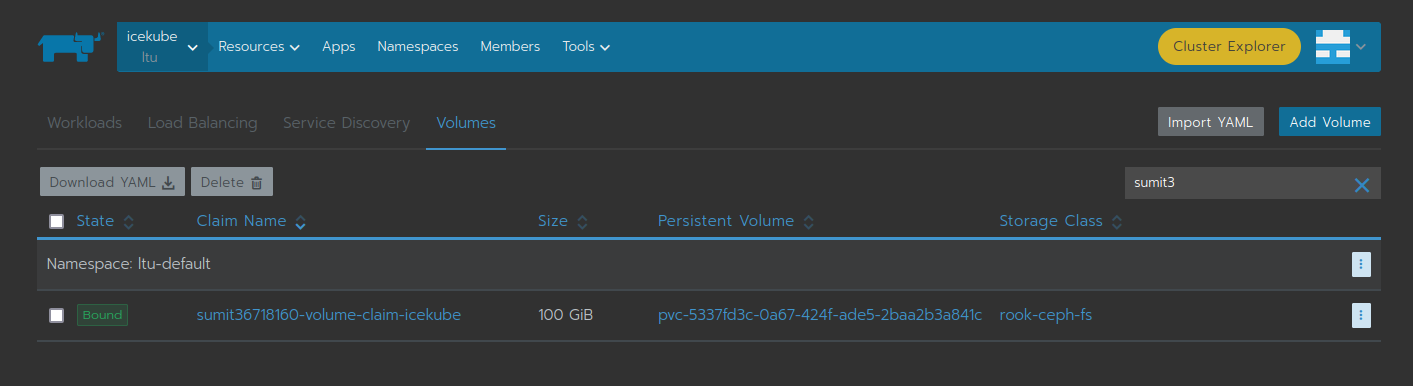
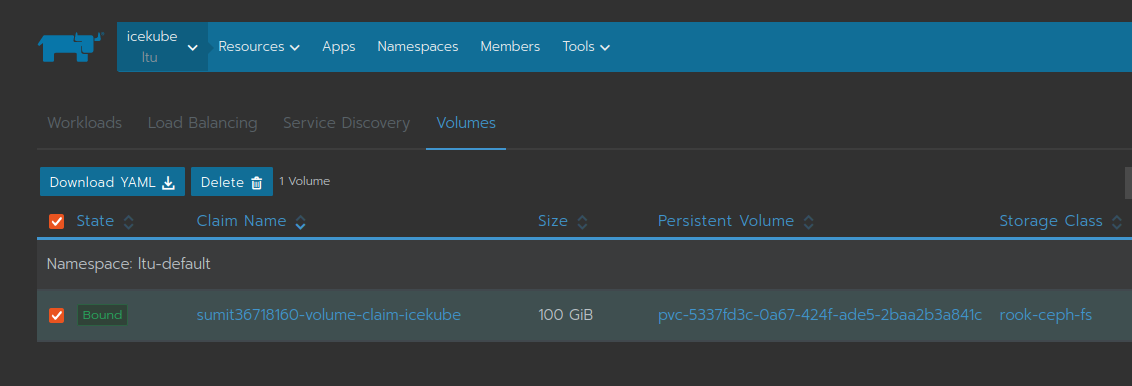
Note
Confirm twice before deleting a volume, otherwise, you will end up deleting resources of another user.