In this step, we will install the matlab helm chart on remote icekube Kubernetes cluster using Windows Powershell. So, be ready for the next adventure interacting with command line terminal.
Table of Contents
Step: Launch Powershell and switch to required directory.
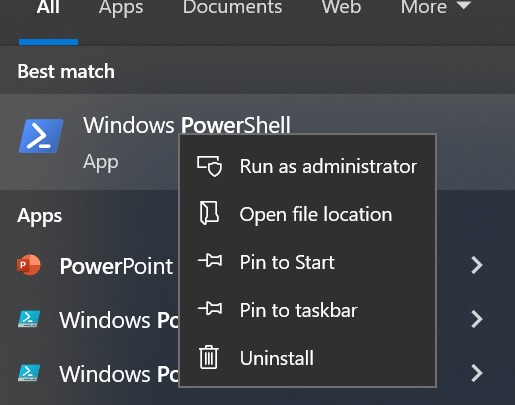
Open the Windows Power Shell and Run as administrator. Switch to the following directory within the extracted folder.
Switch to the .helm directory: Path for the folder is
python_setup_kubernetes->repository->.helm

Step: Install Helm chart
We have to name the hell chart before installing, use the combination of your firstname and 8 digit unique number to name your helm chart. We are doing this because there are so many helm charts installed on the cluster by different users, if we accidentally use the same name, it will not install the helm chart. Also, it will help us to generate a unique personal weblink for our matlab.
Generate an eight digit unique number.
Generate a 8 digit unique number from this link or any other source from web which you feel comfortable. For example you generate an 8 digit unique number “36718160” use it with your firstname as a combination. For example firstname is johnny and unique number “36718160”, then the name of the helm chart you have to use johnny36718160
Note
Write down your unique name. Do not forget it, in case first name on the cluster matches with someone, you will get confused.
Check Kubernetes context
We have to use icekube context otherwise we will install helm chart accidentally on local environment.
Command to switch from existing context to icekube context with ltu-default namespace
kubectl config set-context icekube --namespace=ltu-default
                   OR
kubectl config use-context icekube
kubectl config set-context --current --namespace=ltu-default

Command to list the current context used.
kubectl config current-context

Install Helm Chart
Once you are sure that you have switched to icekube context you can proceed to install helm chart. You need to open Powershell using Administrator rights and switch to the .helm directory of the extracted project folder.
The complete path of the .helm folder is python_setup_kubernetes-main->repository->.helm

We have already configured the various files required. Now, use the unique combination of first name along with 8 random digits you generated.
For example: In this case, it is sumit49670241
Use the below command along with a unique name and give the file path to values_icekube.yaml which is located under the current directory.
helm install --debug sumit49670241 ./ -f ./values_icekube.yaml

You will get a message in the end that the python setup is installed.
Step: Check the status of the pod
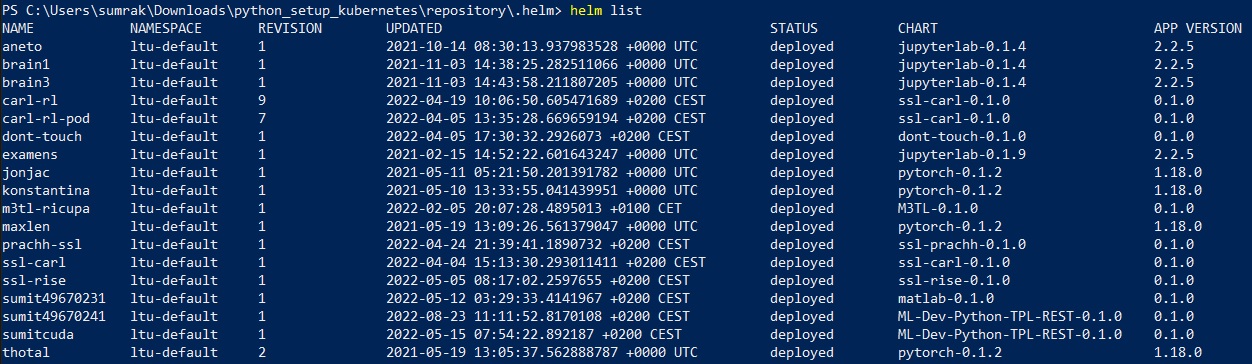
To view whether your helm chart is installed and deployed or not just simply use the below command.
List all helm charts Installed
helm list
To view all the resources
kubectl get all